Devices
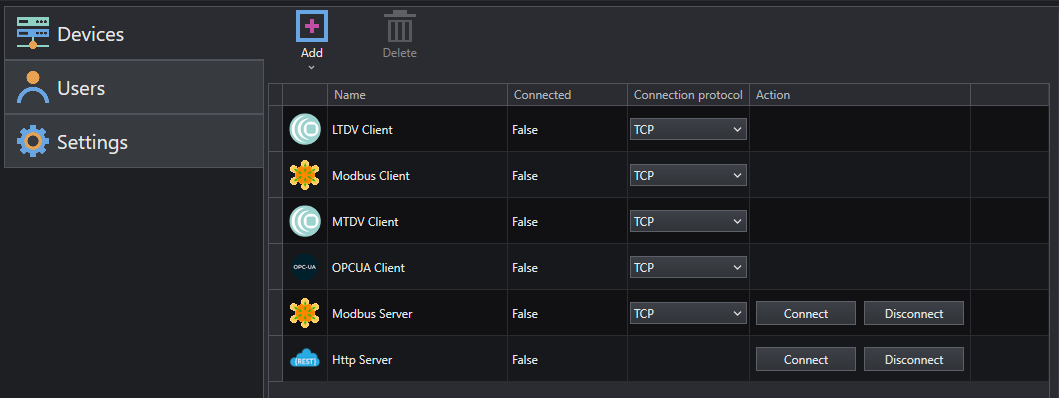
 — Open the list of available devices and select the device to be added
 — Remove the device selected from the list
In the device list you will find the list of devices with their status, the connection protocol and, if available, the associated actions. For example, with reference to the figure above, you can activate or deactivate the Modbus Server.
In the panel on the right, you can enter the configuration properties of the created device and change its name.
LTDV Client
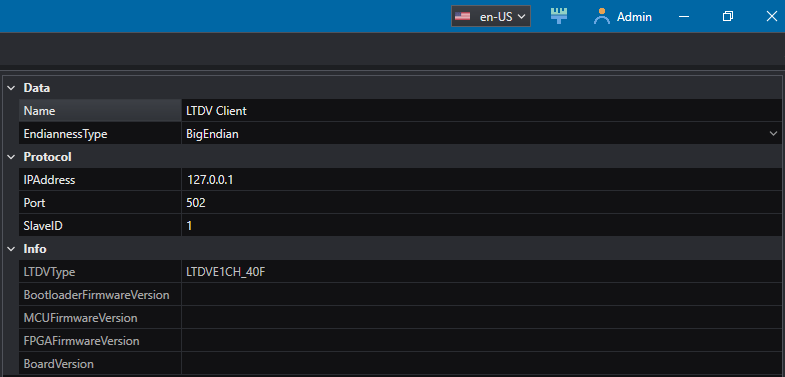
Set the IP/Serial communication parameters of the LTDV used.
MTDV Client
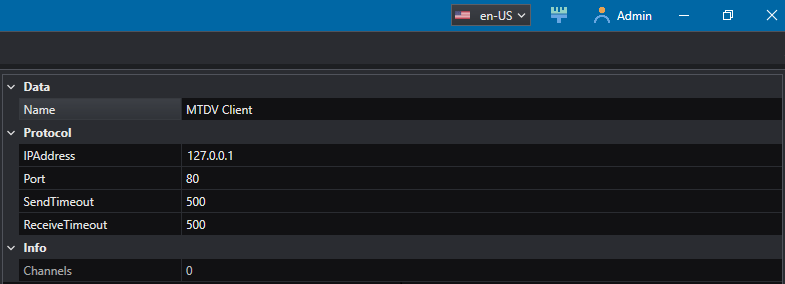
Set the IP/Serial communication parameters of the MTDV used.
OPCUA Client

Set the URL of the OPCUA Server in use.
Modbus Client
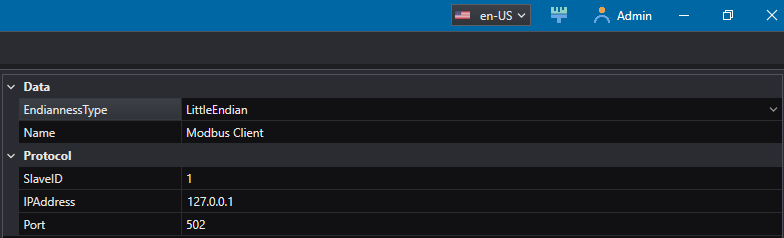
Set the IP/Serial communication parameters for OEVIS® as Modbus client.
Modbus Server
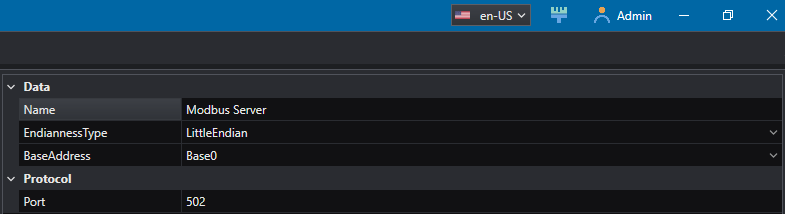
Set the IP/Serial communication parameters for OEVIS® as Modbus server.
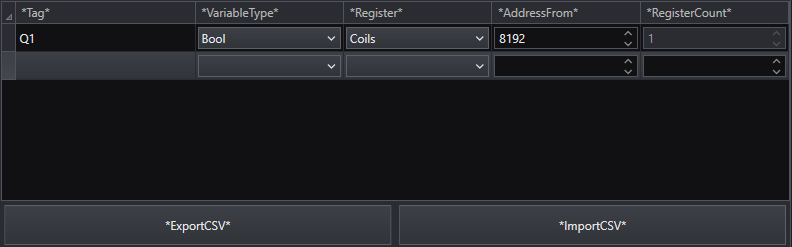
As a server, you will need to expose variables for reading and writing using communication objects in Job.
Http Server
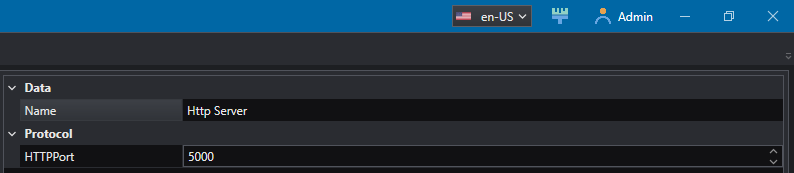
Set the name and the port where the server should run, only one instance can run on a port.
The server exposes variables that can be read and/or written from external clients using JSON schemas and can be read and write using communication objects in the Job. For those variable only name and type can be edited.

Every server instance exposes an http GET and PUT method to read and to update a variable. The server endpoint is:
http://localhost:<port>/variable-management/variables
Note
Field keys change according to the variable type. You can obtain the schema of a specific variable type from any GET request.
GET
With the GET method a client can request for the state of all variables or of a specific one. To request the state of a specific variable the client has to include the ID into the request parameters, for example to request the variable with index 0 the GET request should be:
http://localhost:<port>/variable-management/variables?ID=0
The response schema to this request is:
{
  "ID": 0,
  "Name": "Example_Variable_1",
  "Type": "Box",
  "VariableValue": {
    "X": 0,
    "Y": 0,
    "Width": 0,
    "Height": 0
  }
}
To request the state for all variables just don't specify the ID parameter. The request becomes:
http://localhost:<port>/variable-management/variables
The response schema to this request is:
[
  {
    "ID": 0,
    "Name": "Example_Variable_1",
    "Type": "Box",
    "VariableValue": {
      "X": 0,
      "Y": 0,
      "Width": 0,
      "Height": 0
    }
  },
  {
    "ID": 1,
    "Name": "Example_Variable_2",
    "Type": "Circle2D",
    "VariableValue": {
      "Center": {
        "X": 0.0,
        "Y": 0.0
      },
      "Radius": 0.0
    }
  }
]
PUT
With the PUT method a client can update the state of a specific variable. To update the state of a specific variable the client has to include the ID into the request parameters, for example to request the update with index 0 the PUT request should be:
http://localhost:<port>/variable-management/variables?ID=0
The request body schema for this request is:
{
  "VariableValue": {
    "X": 0,
    "Y": 0,
    "Width": 0,
    "Height": 0
  }
}
MQTT Client
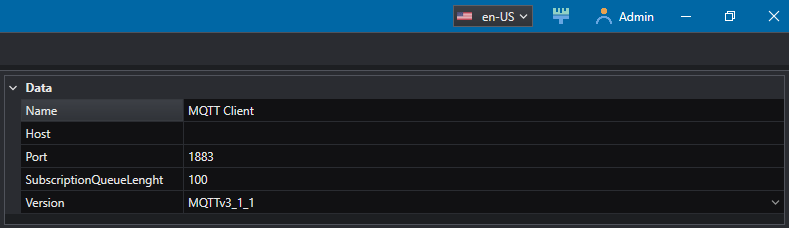
Set the MQTT communication parameters for MQTT Client device.
- Name: name of the client that the tools will refer to.
- Host: IP address of the broker (if you want to test with the provided Demo app use
127.0.0.1). - Port: broker port, usually
1883. - Subscription Queue Length: maximum number of messages that can be received when subscribing to a topic. When the index is exceeded, the oldest message is removed from the list.
- Version: version of the protocol to be used for communication.