OCR
The OCR training GUI allows user to train an OCR model to use inside the project in combination with OCR tools that require this kind of data.
Furthermore, it is possible to export the trained model to a file and import it into a new project to be used as is or tuned according current needs.
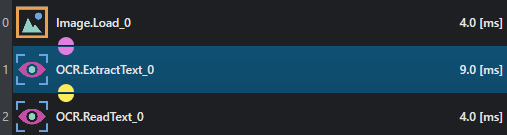
The basic OCR workflow is composed by the acquisition of an image (loaded from disk or grabbed by a camera), followed by a text extraction (segmentation) operation and finally a text reading (recognition) operation. These three operations are executed in the example shown in the following picture respectively using the tools Image.Load, OCR.ExtractText and OCR.ReadText.
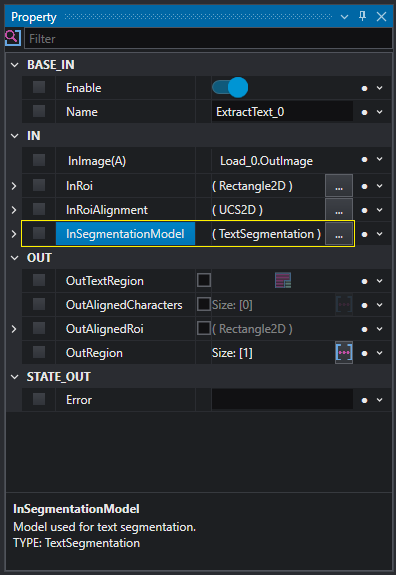
The training procedure is divided into two parts. The first, consisting in the text segmentation to prepare the dataset, can be conducted with the OCR Extract Text Editor, by editing the InSegmentationModel property of the OCR.ExtractText tool.
The second part, consisting in the actual OCR model training, can be done by editing the InModel property of the OCR.ReadText tool.
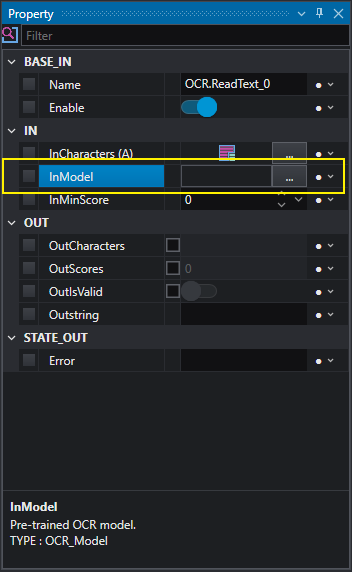
OCR Extract Text Editor
Extract text
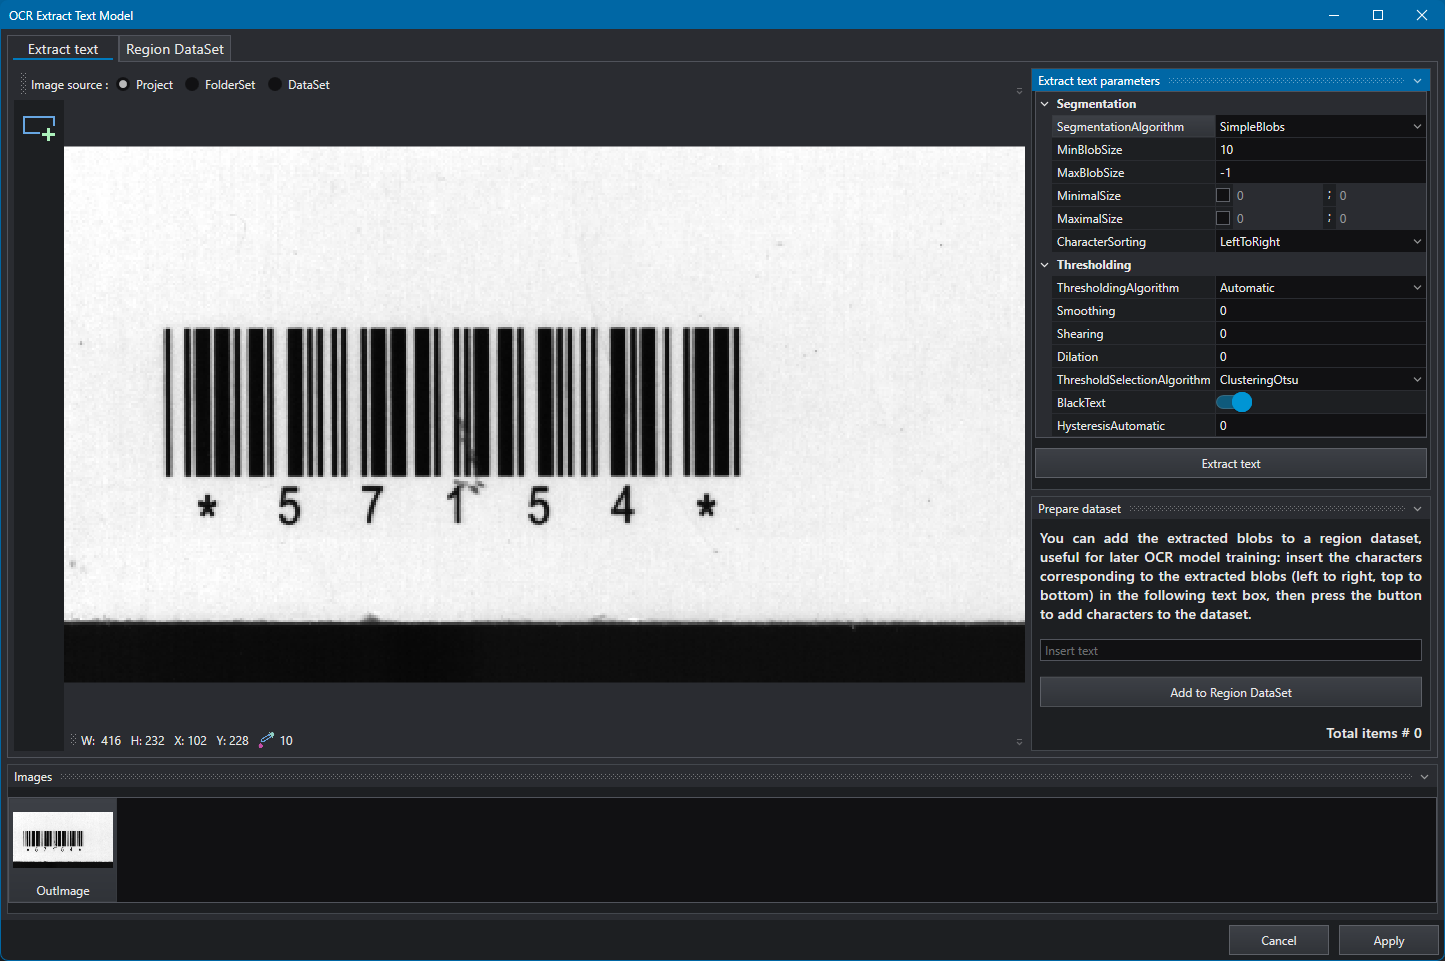
In the Extract text section it is possible to extract blobs from imported images and add them to the training data; the more blobs are added for each character the more accurate the model will be. Three methods are available to extract blobs from images, Project, FolderSet and DataSet, both of them can be controlled by the Extract text parameters on the right side. For a detailed description about extraction parameters see OCR.ExtractText.
Project
When Project is selected, it is possible to import image directly from project's existing data, for example from tools' ouput image, and all possible data are listed at the bottom of the interface in the Images control. Select the desired image to start working on it.
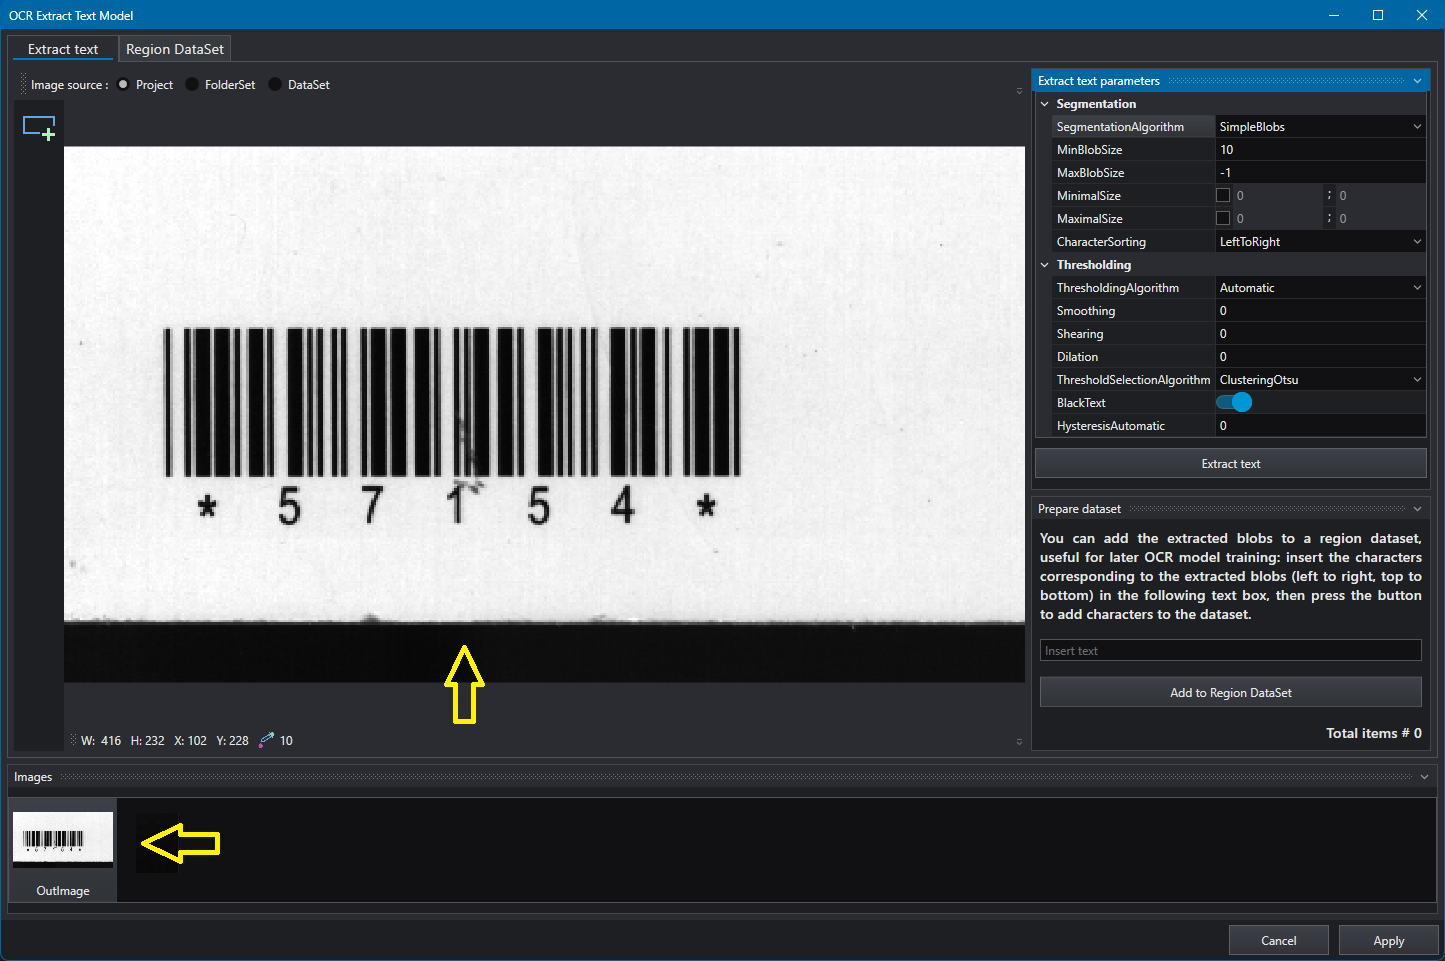
Use the  button to draw a ROI around the text.
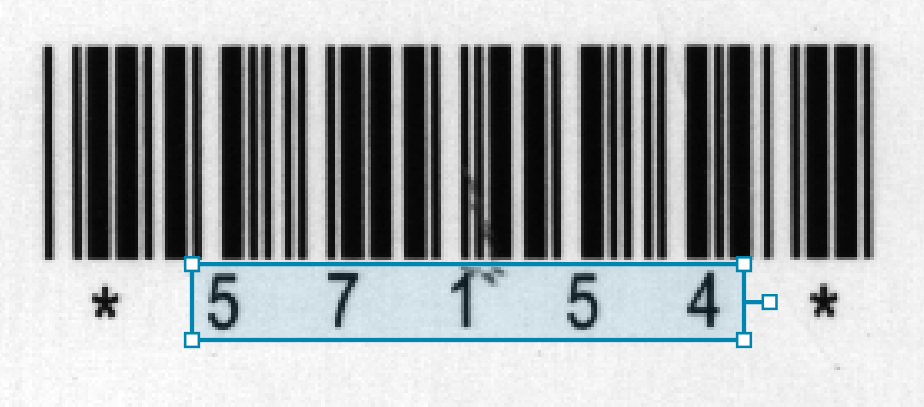
You can zoom in and out of the preview area by scrolling the mouse wheel and you can drag around the image by clicking the middle button.
Click and release the left button to define the ROI initial corner and move the pointer until it includes the area to be analyzed. With a second click you define the final corner of the ROI.
Using the anchor points on the four corners of the region you can resize the ROI, while using the fifth handle on the far right you can rotate it.
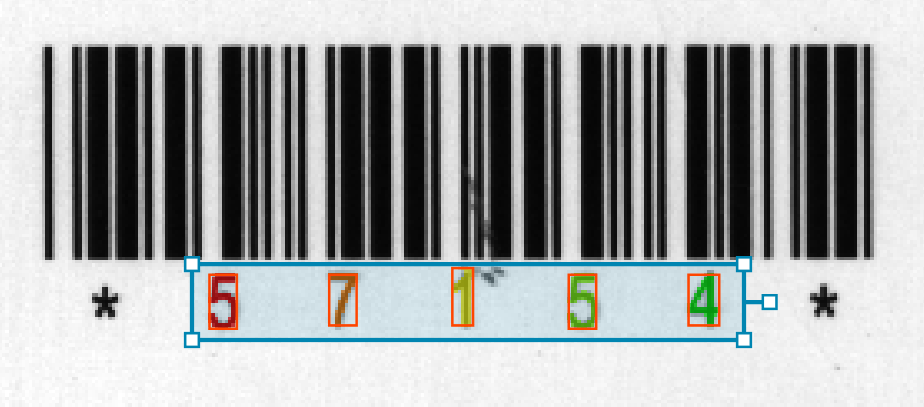
After selecting settings in the Extract text parameters, press the Extract text button to extract text blobs; adjust extraction parameters in order to filter or fine tune the process. Found blobs are highlighted with an orange frame.
Enter the matching text characters inside the indicated box to associate the extracted blobs to characters. When a character is associated, the blob frame gets highlighted with a yellow frame.
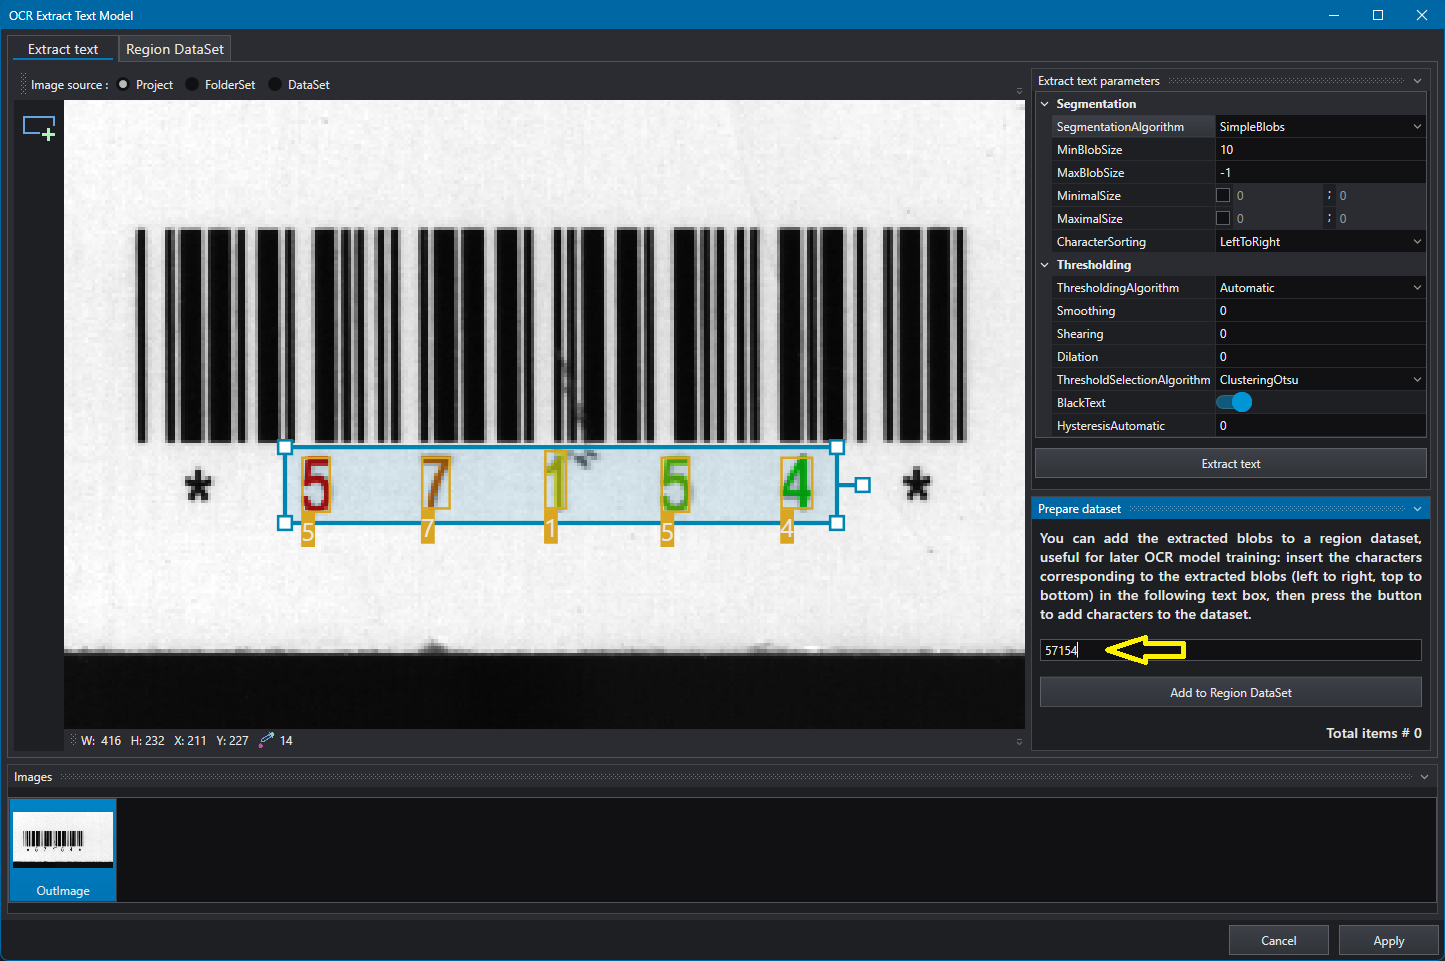
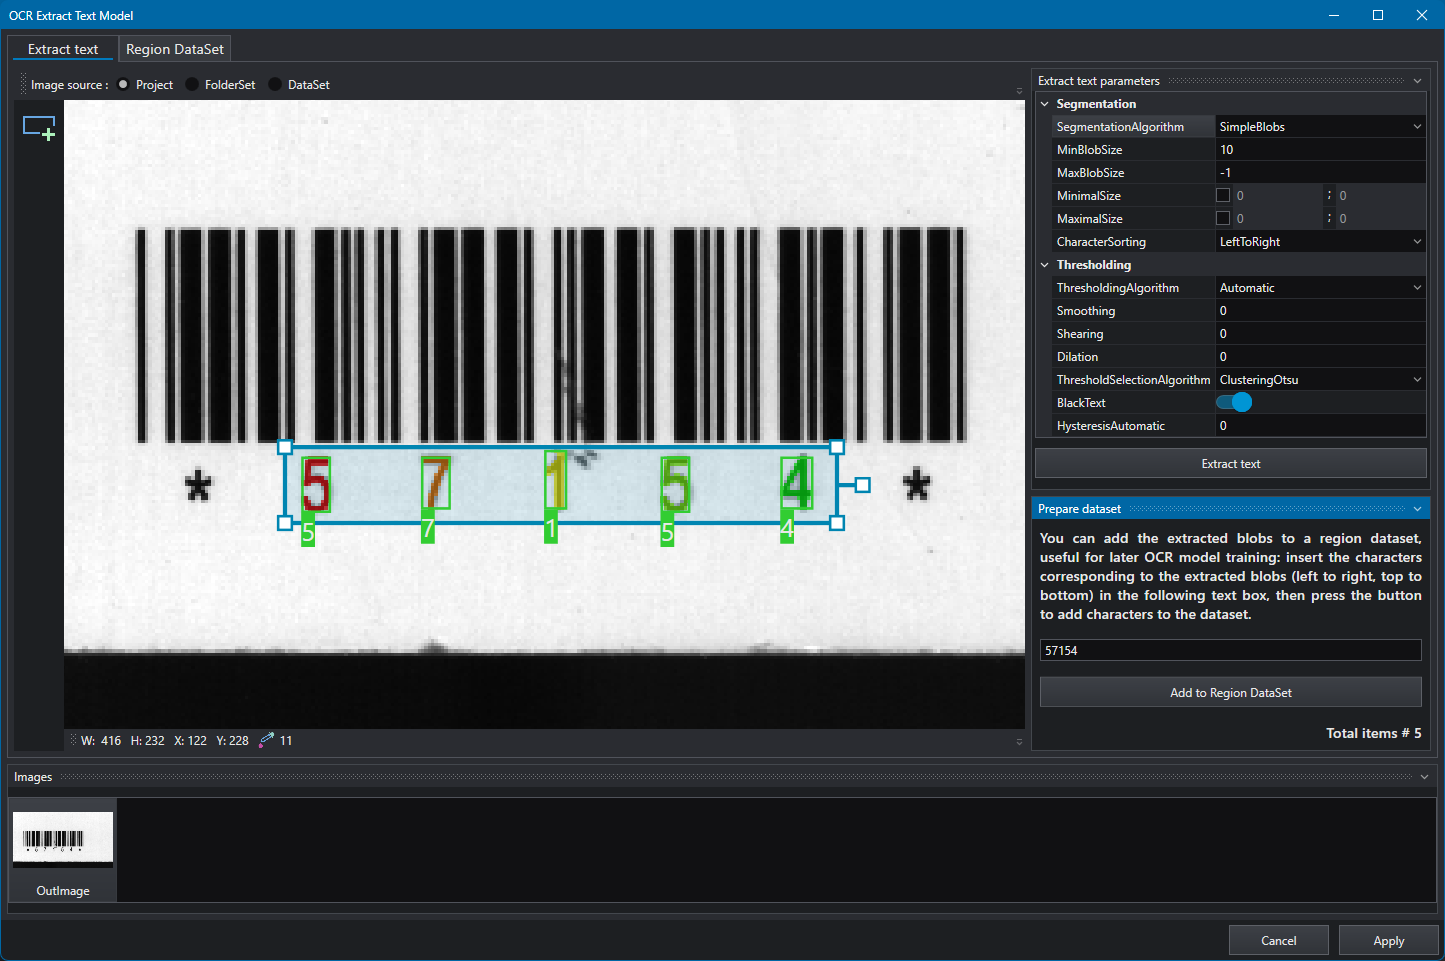
Press Add to Region DataSet to add them to the dataset that will be used for training. The number of total training data is updated and added blobs are highlighted with a green frame.
FolderSet
When FolderSet is selected, the image is not from the project history but from files. After selecting the folder containing the files, you can proceed with the same operations as in the previous mode.
DataSet
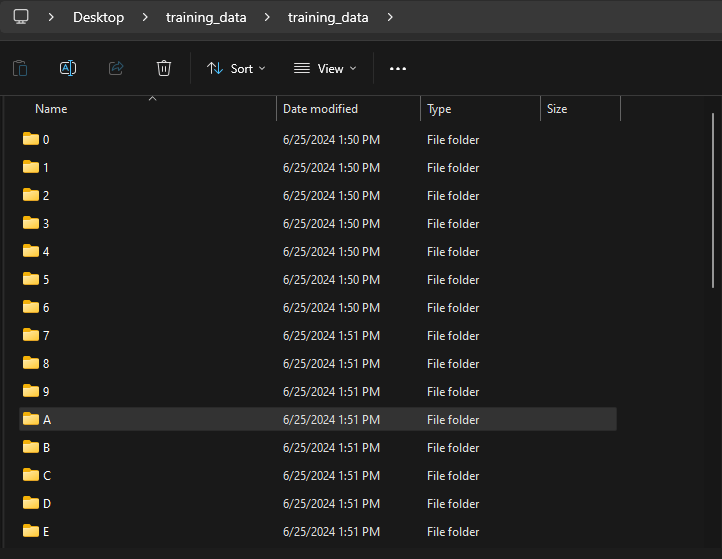
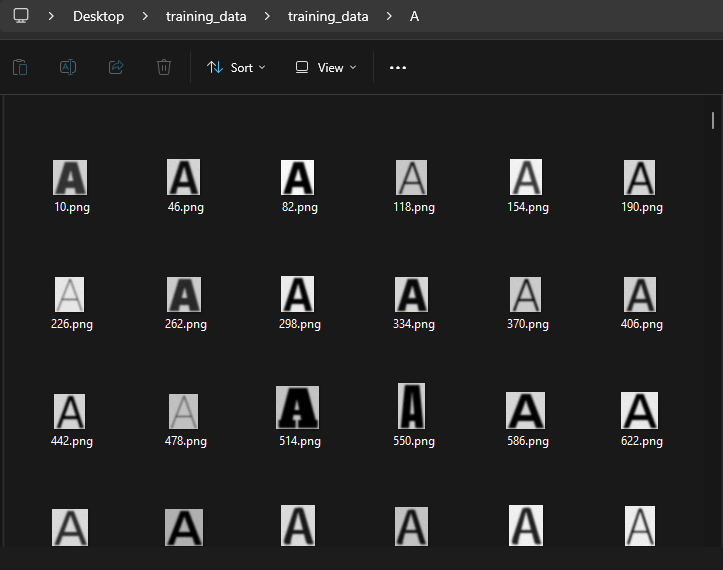
When DataSet is selected, it is possible to import a pre-defined dataset of images where each image represents only one character.
Note
The dataset must be organized in the form of folder/subfolders/files, where each subfolder name is equal to the character represented in the contained images.
Select the root folder by pressing the  button; the folders are loaded into the preview and images can be inspected by selecting the folder and the image itself from the list.
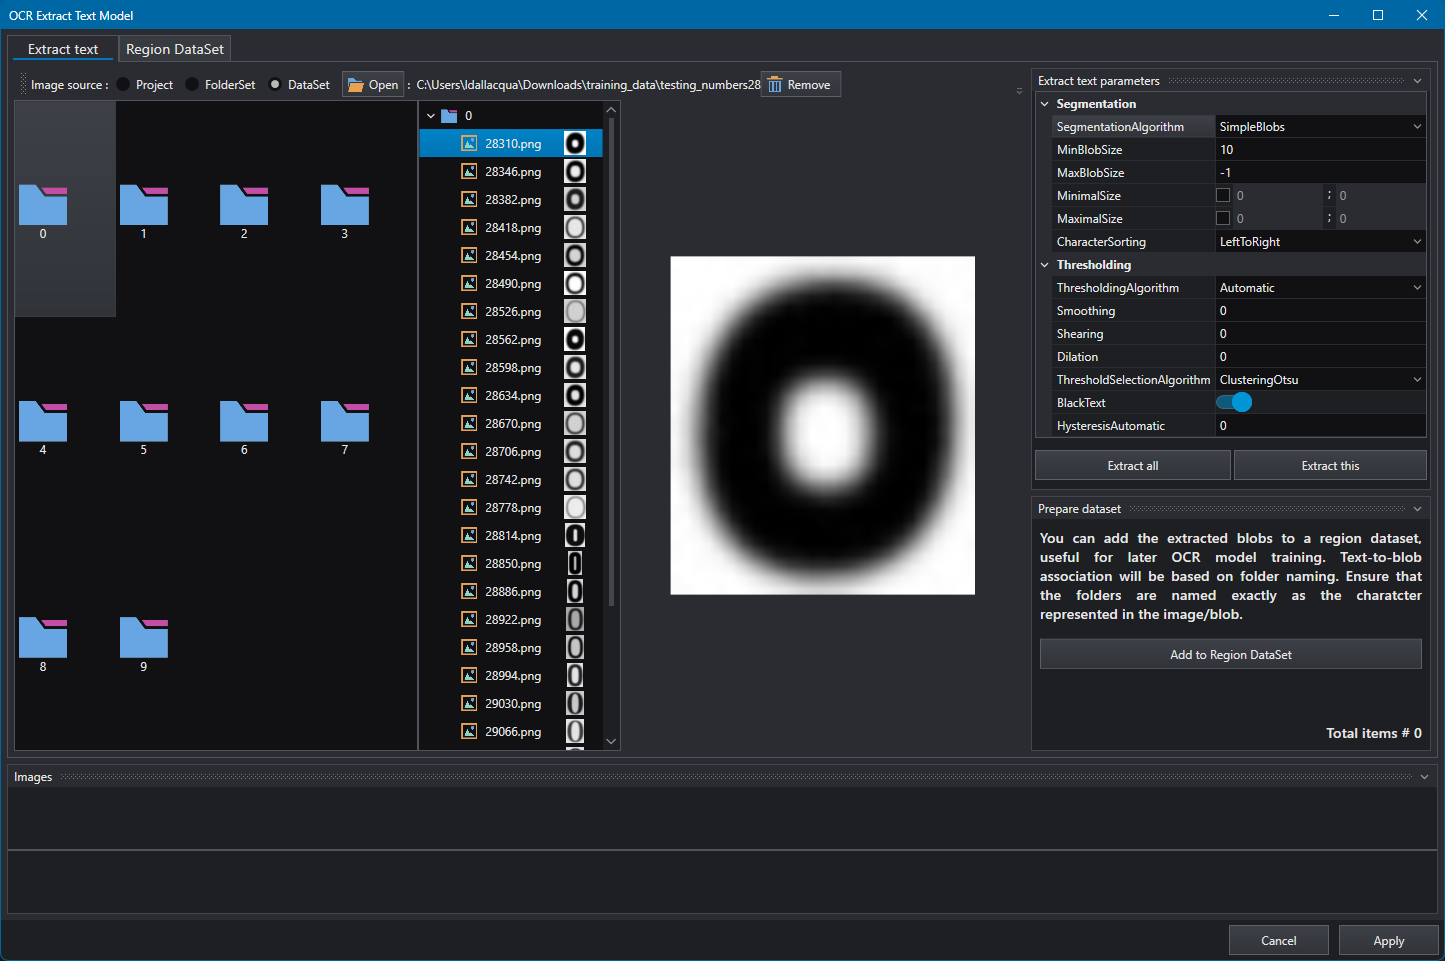
If some images require a special parameter tuning, you can decide to extract only the selected image with single extraction or do full extraction by pressing the respective button.

To remove an element from the dataset you can use the  button.
Region Dataset
In the Region Dataset section it is possible to inspect and review the the current training data for each extracted character blob.
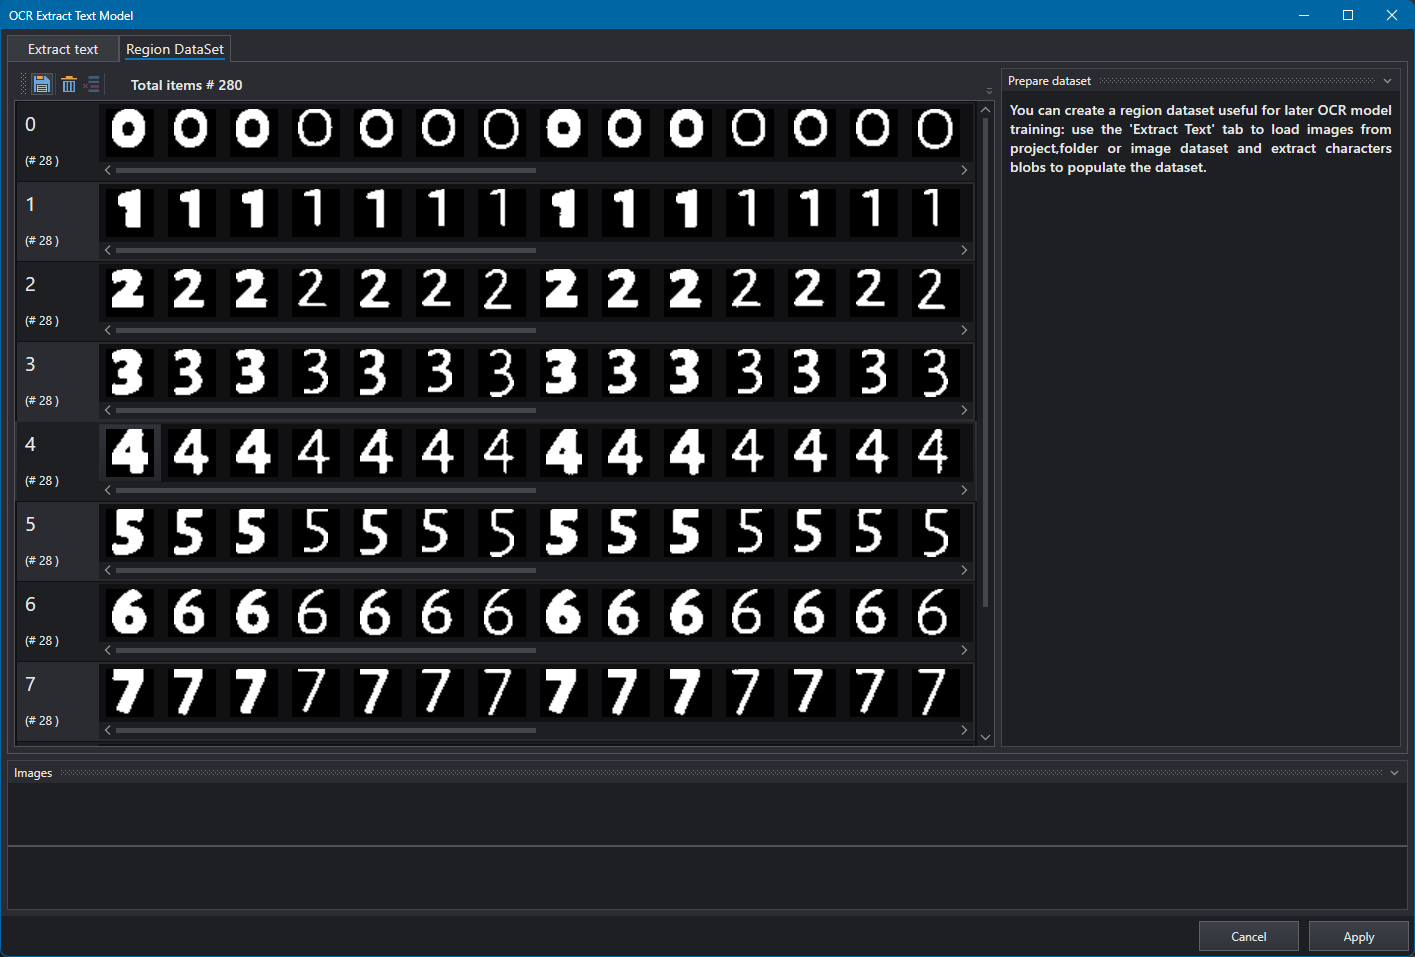
The toolbar allows to:
 — Save the dataset
 — Delete all training data
 — Delete one full row of training data
To remove single elements, select them on the preview and press Del. You can also select multiple elements by holding Shift or Ctrl and clicking on the list.
OCR Model Editor
Train model
In the Train model section it is possible to inspect and review the the current training data for each extracted character.
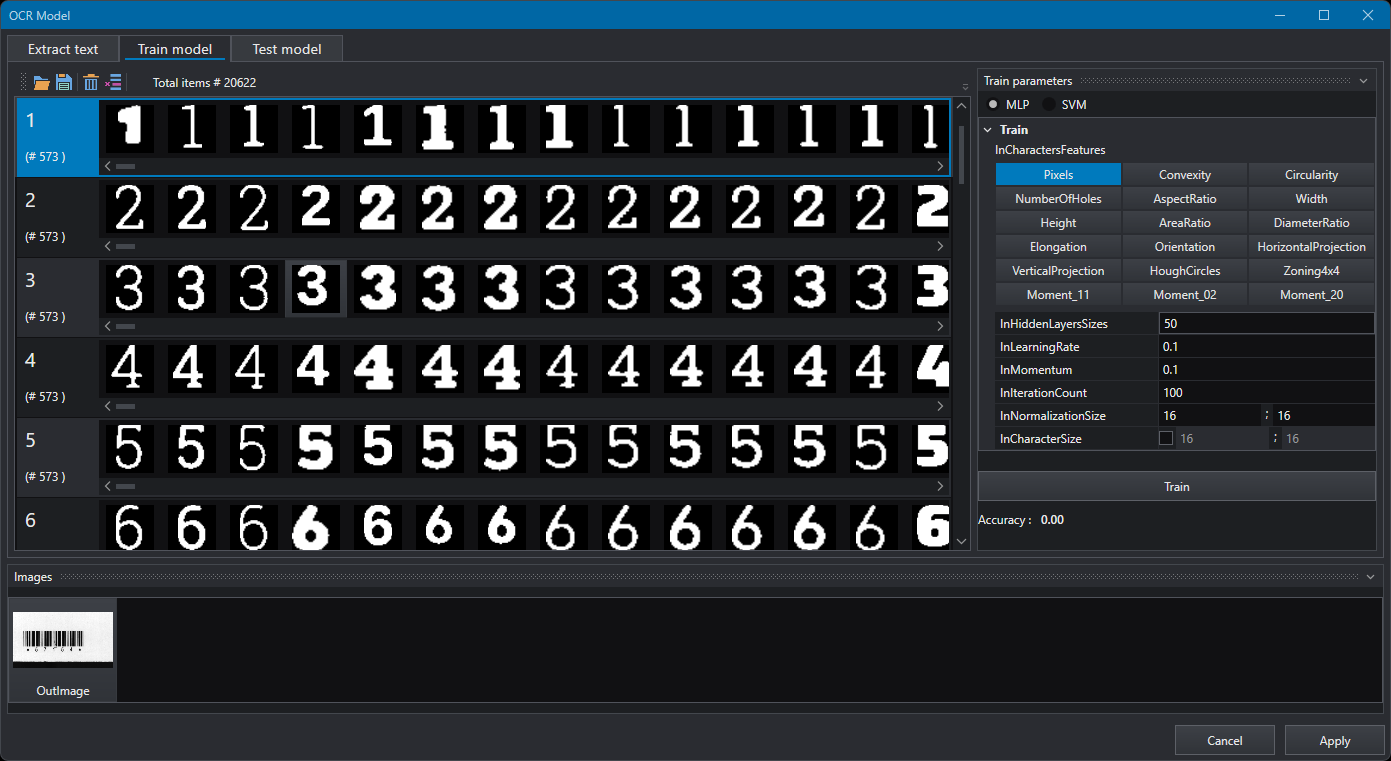
The toolbar allows to:
- — Delete all training data
- — Delete one full row of training data
To remove single elements, select them on the preview and press Canc.
To start the training process, tune the model through Train Parameters on the right side. For a detailed description of training parameters see OCR.TrainSVM and OCR.TrainMLP.
Note
At least one character feature must be selected.
At the end of the training process the final accuracy is displayed (value range [0; 1]).
After the training process is completed, press Apply. The model will be stored inside the project data.
Warning
By pressing the Cancel button all changes will be lost.
Test model
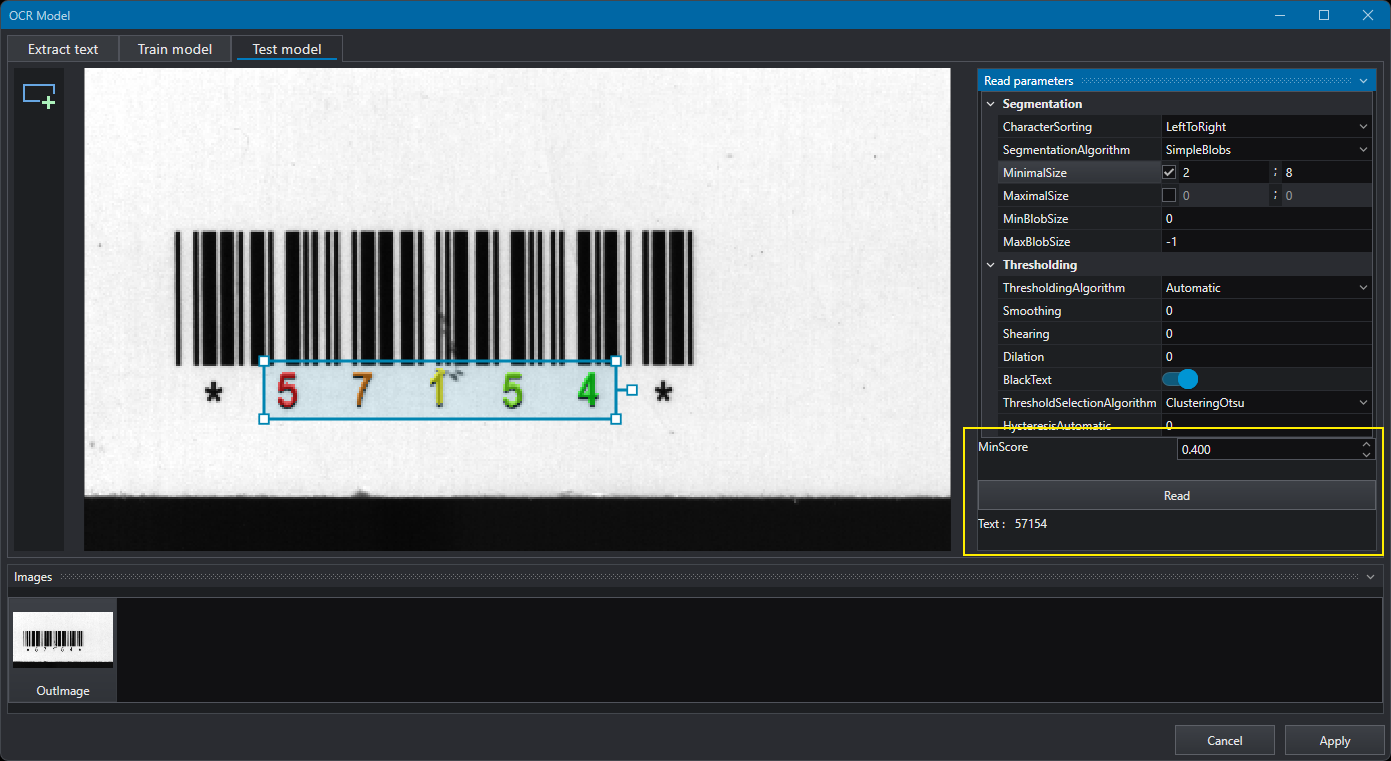
In the Test model section it is possible to test the trained model using the images available in the project from the bottom images list. The procedure is similar to Extract text section: a ROI is used to extract the text, using the Read parameters on the right side (see OCR.ExtractText), then the model is applied to read the extracted text and convert it into string.
The MinScore value controls the minimum reading score.