Template Model Editor
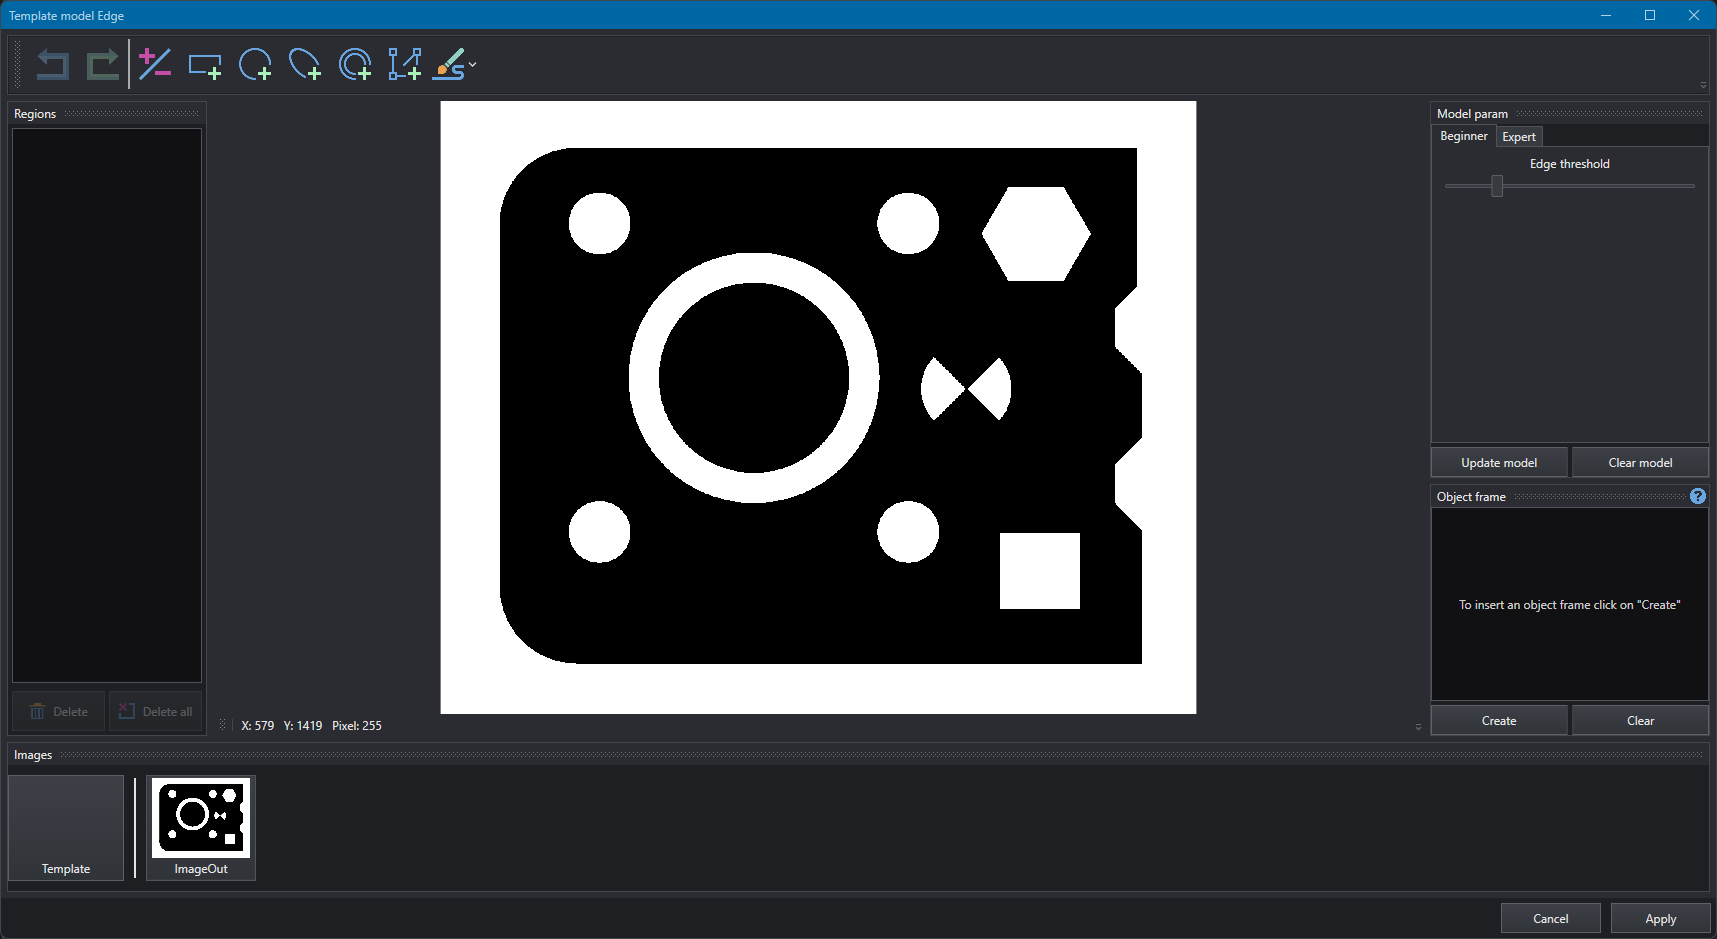
The Template Model training GUI allows user to train a template model to use inside the project.
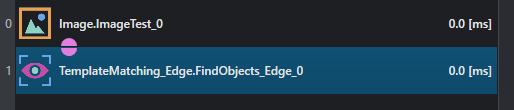
In order to create a new model using this UI the basic workflow is composed by an image loading or grab, followed by either a TemplateMatching_Edge.FindObjects_Edge or a TemplateMatching_NCC.FindObjects_NCC object. An example is shown in the following picture using the Image.ImageTest to simulate the user's image.
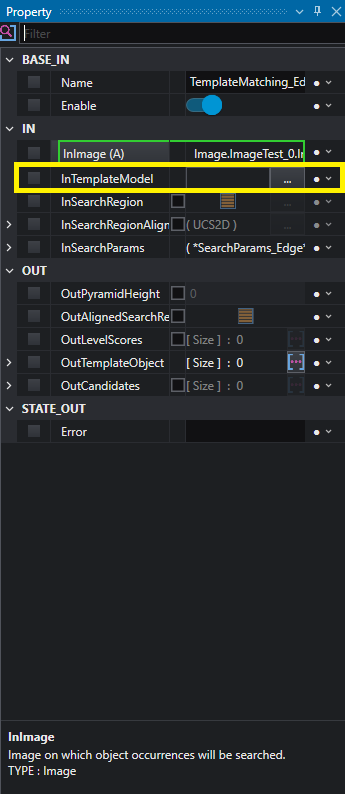
The GUI can be opened from the property bar using the InTemplateModel property as shown for the tool TemplateMatching_Edge.FindObjects_Edge.
A typical model creation is shown and described below.
Note
At least the project has to be run once to populate the images list.
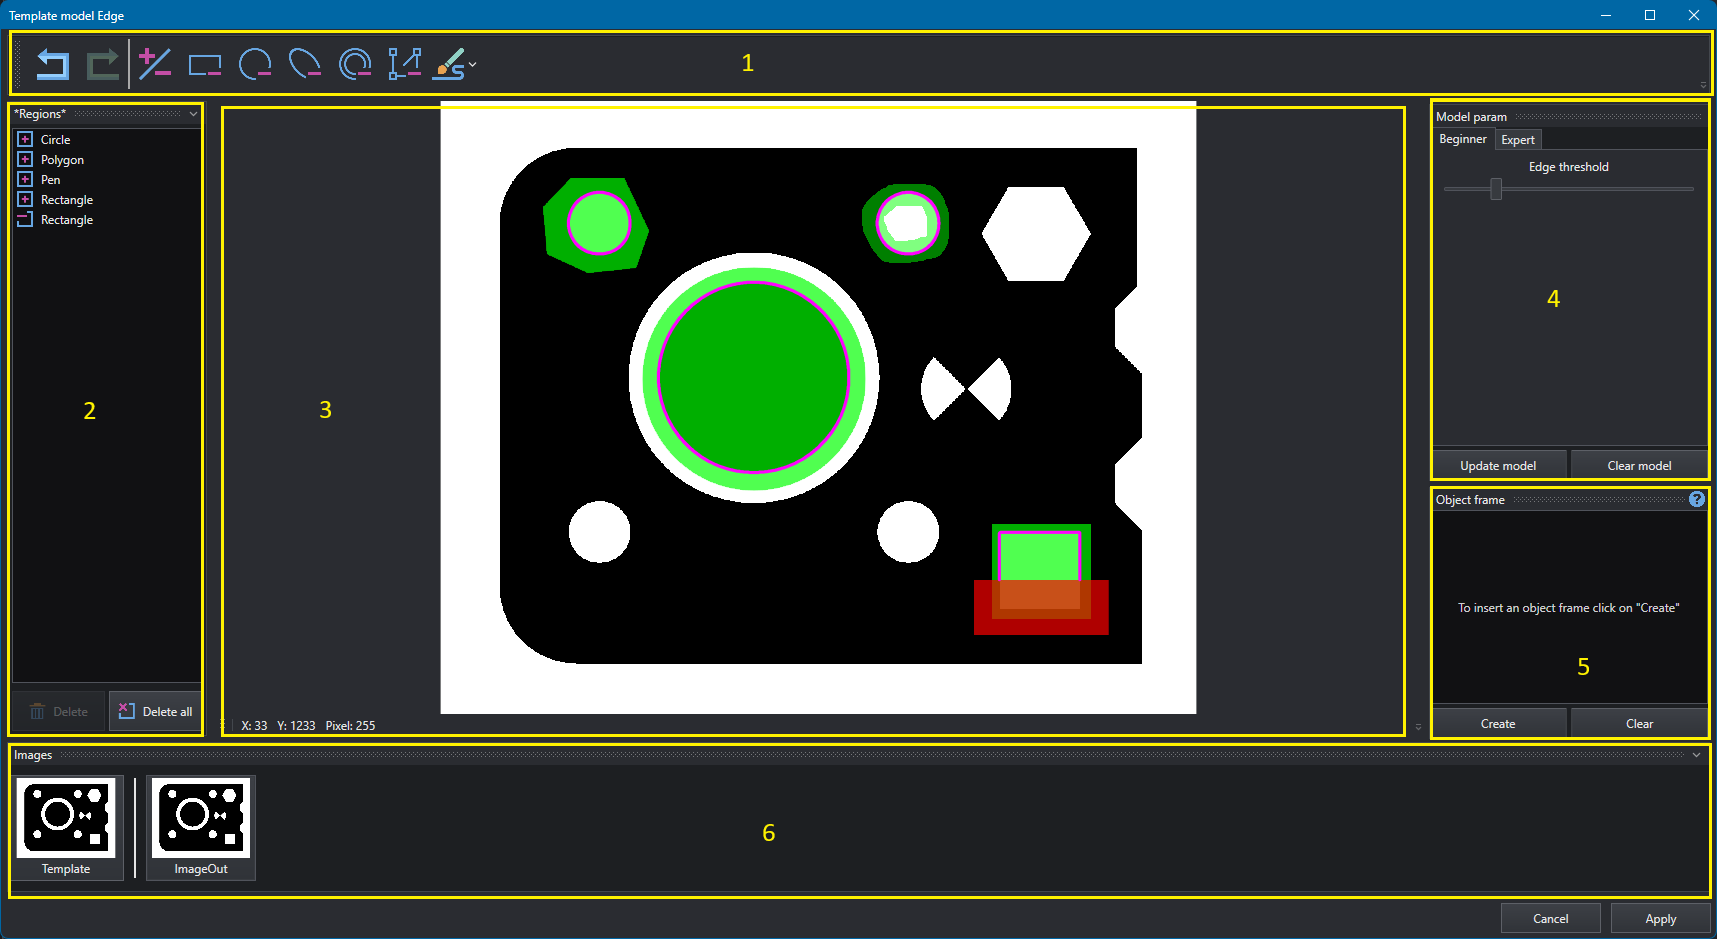
The creation GUI is split in 6 parts:
- Commands toolbar (1)
- Regions list (2)
- Image and model viewer (3)
- Parameters bar (4)
- Object frame editor (5)
- Images list (6)
Commands toolbar

The commands toolbar is used to create regions that defines areas in the image that are included / excluded from the model creation. Using this toolbar the user can undo and redo the regions (1), switch from inclusion and exclusion regions (2) and create the region (3). The supported types of region that can be selected are:
- Rectangle
- Circle
- Ellipse
- Circular ring
- Polygon with user defined number of points
- Brush (a free shape that can be drawn using the mouse)
Regions List
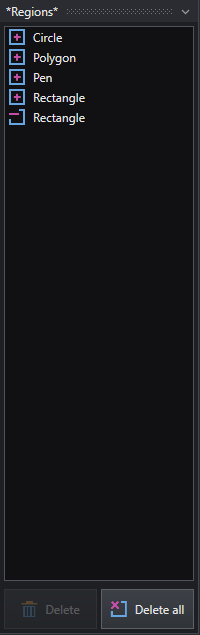
This control gives the user a visual feedback about all the created regions, every item in this list represent a region and displays its type with an icon (inclusion or exclusion) and the shape. When a region is selected an orange border is displayed around it over the image. By using the buttons on the bottom of this list a user can delete a single region or all of them.
Warning
Once a region creation is completed it cannot be edit, it can only be deleted and recreated.
Image and model viewer
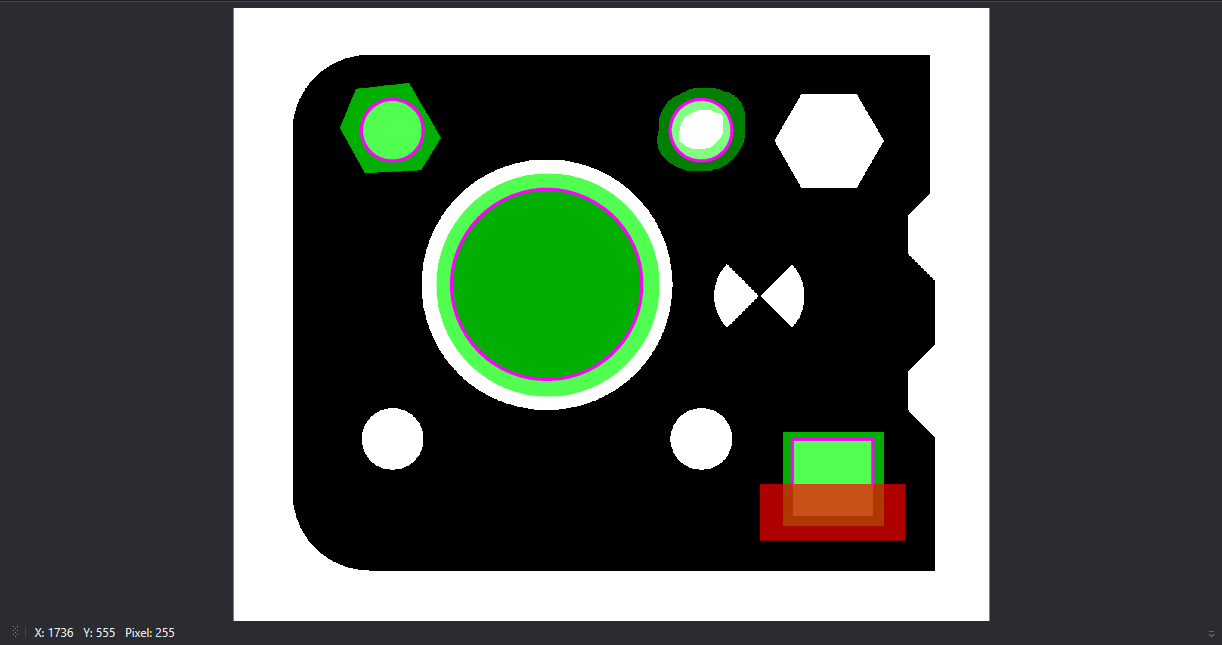
In this section of the GUI the model image, the model regions and the template edges are displayed, under this section the user can find information of current mouse position: X, Y and the color value of image. Inclusion regions are displayed in green, exclusion regions in red. Once an "update model" is called the model edges are displayed in violet.
Parameters bar
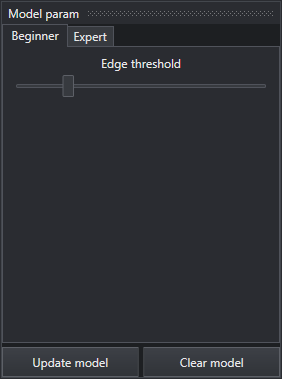
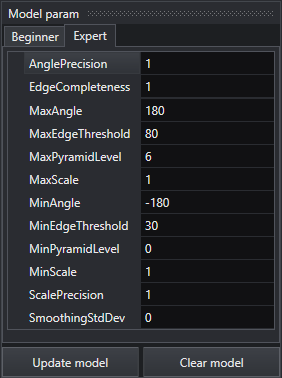
This bar can be used to change parameters for model creation and to trigger a model update (UpdateModel button) or clear it (ClearModel button). By default the bar is shown as Beginner and only a slider to change the model's contours is available, all parameters can be accessed in the Expert tab. For a detailed description of parameters see TemplateMatching_Edge.CreateModel_Edge
Object frame
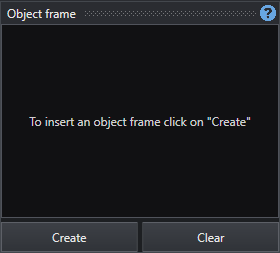
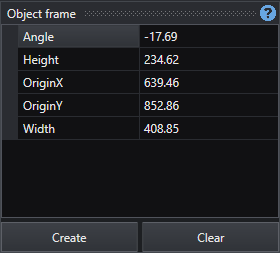
In this section the object frame can be created. By pressing on Create it is possible to draw directly over the image a rectangle that represents the object frame, once created the rectangle's properties can be viewed and edited directly from this section. Object frame is used when model is searched on images: when an object is found the corresponding match is the aligned rectangle. If an object frame is already drawn a new creation will override it and with the Clear button it is possible to delete it.
Images list

This control is used to choose the template model image. On the left the Template image shows the image used to create the model.